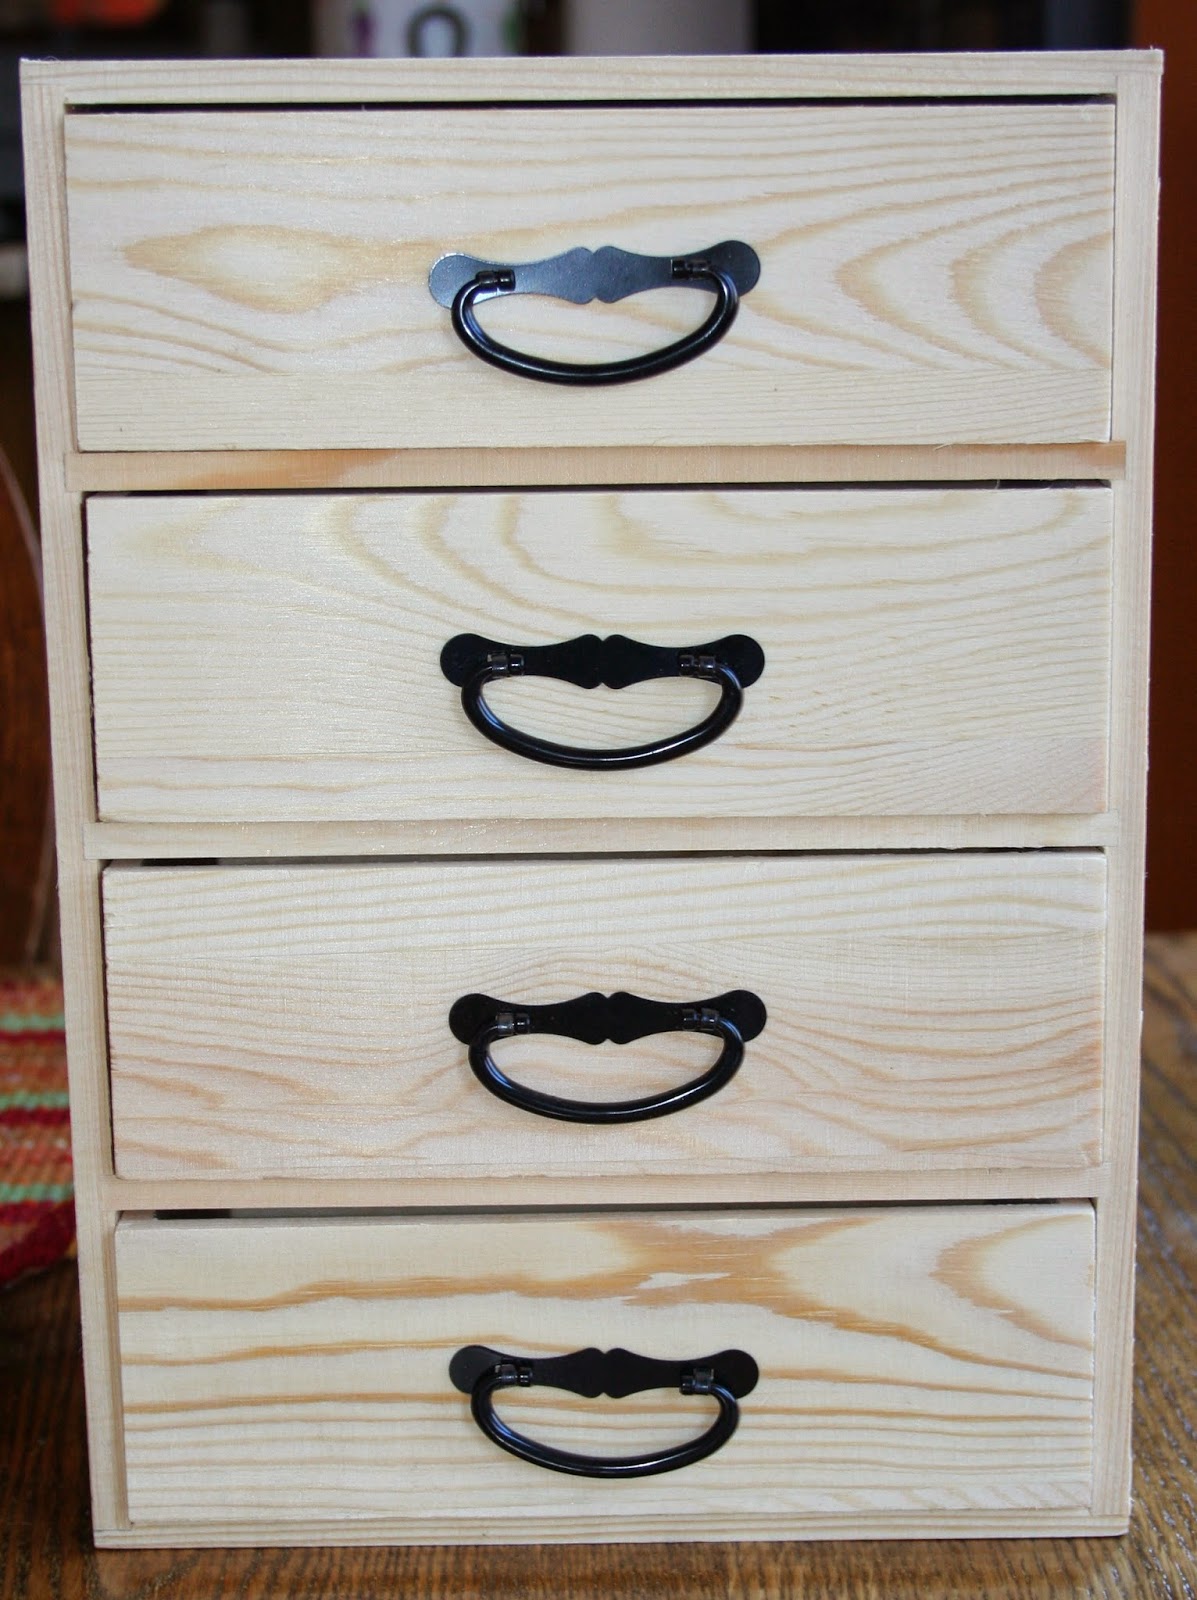
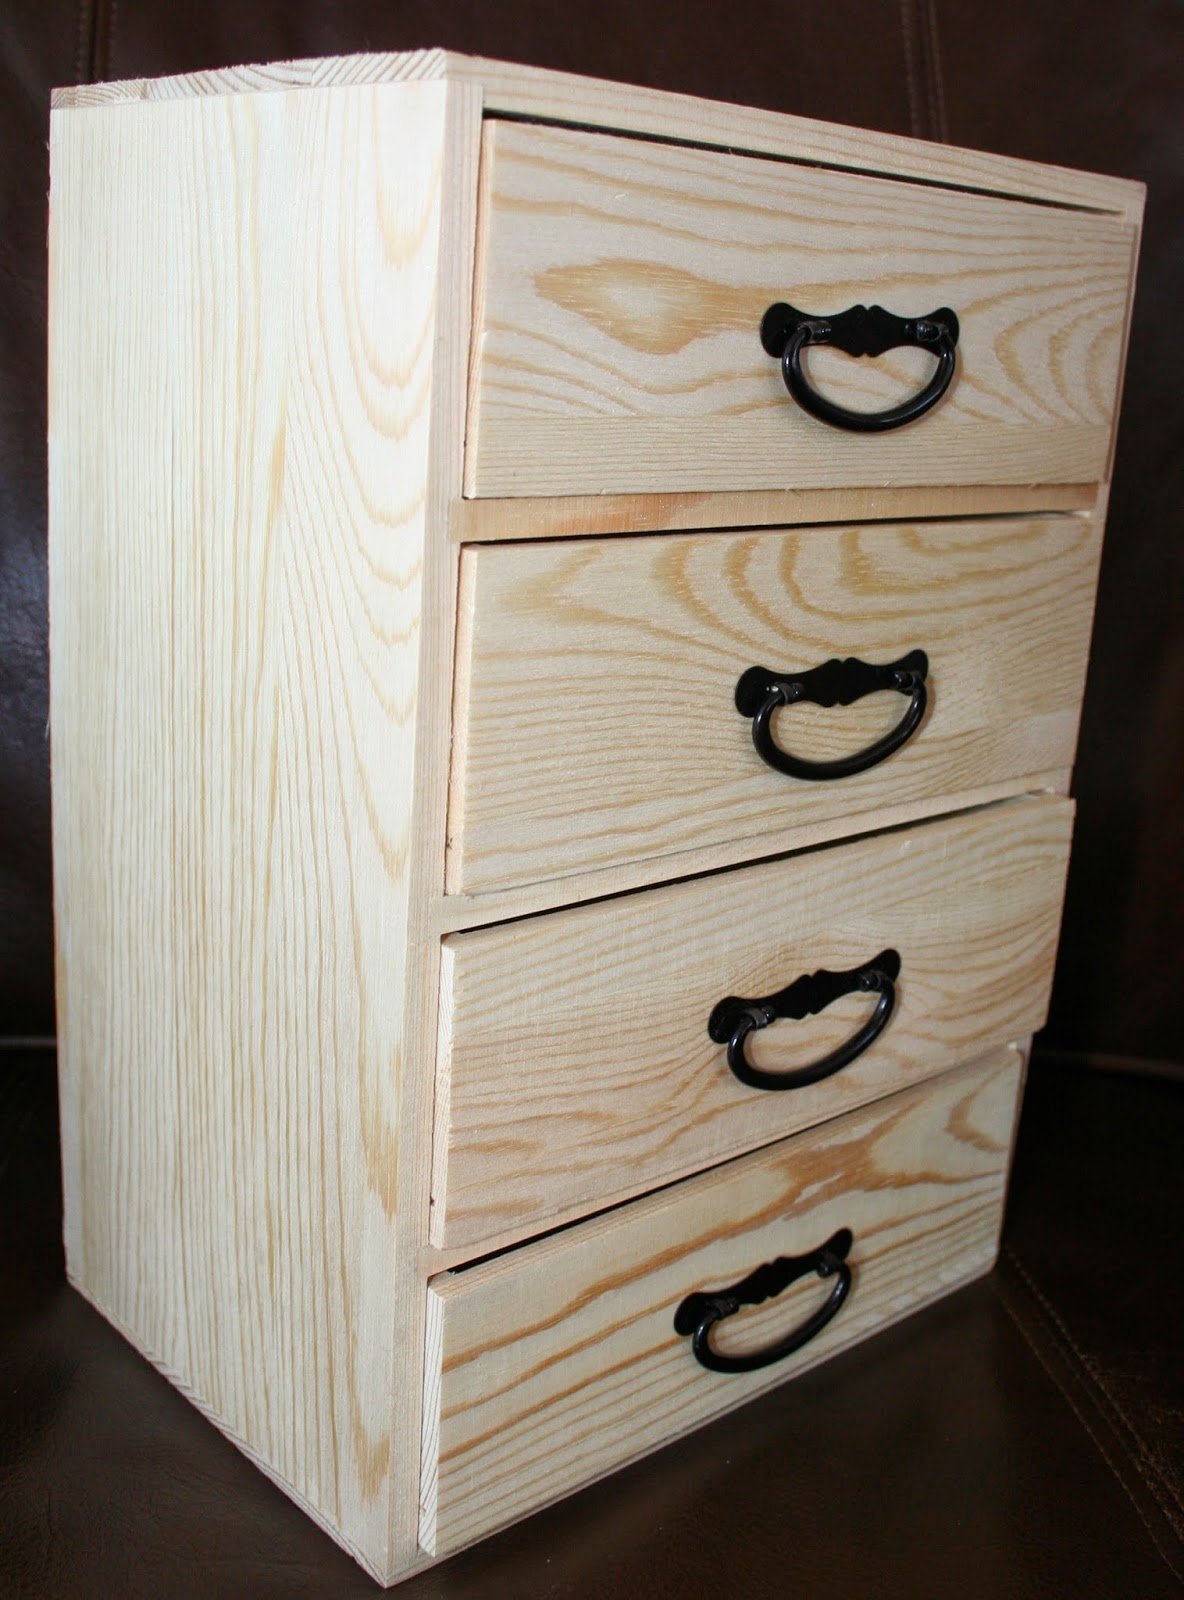
a really long time since I have posted last! I have a good reason though.....my husband and I bought a cottage! It was super fast...we went in it on the 28th of December, put an offer in on the 29th and had it accepted on the 30th. Less than a month later we closed on the property. And since then it has been moving in furniture and basically getting it ready for the warm months to come.....at least we all hope they come! My husband and I have been spending nights out there and I found that I wanted a catch - all box to put my watch/jewelry/hearing aids (yes, I wear hearing aids ;-) ) in and so found this unpainted box at Hobby Lobby for $12.99. I had a 40% off coupon and so got a great deal. The first thing I did was to remove the black handles. I then painted the box red. Actually, I used up two different colors of red and mixed them indiscriminately. I put on about three layers. Each time I painted the box it because a little "rougher" due to the wood grain swelling. Usually one would sand that smooth between finishes but I wanted it to be rough for the next step....hoping to help the wood achieve the faux look of old barn wood.


Some of the pictures look like the color is a yellow....it isn't! It is worn out brown color!


Thank you so much for stopping by...I have been absent so long I don't know if I have any visitors any more! If so, thank you for your time!
Be well,
Sheila
So, after painting it I used Staz On ink in Saddle and Timber Brown to"age" the red. I also applied white paint here and there to further distress the look. Over the white when more brushings of Saddle and Timber. I did this several times until I felt it look like aged barnwood or reclaimed wood. I also was going for a relatively uneven look so that it appeared that this was an old box made from scraps of wood. After I got the color where I wanted it I covered the box in several layers of ModPodge Matte finish. The ModPodge helps to finish the wood and even out the rough surface.
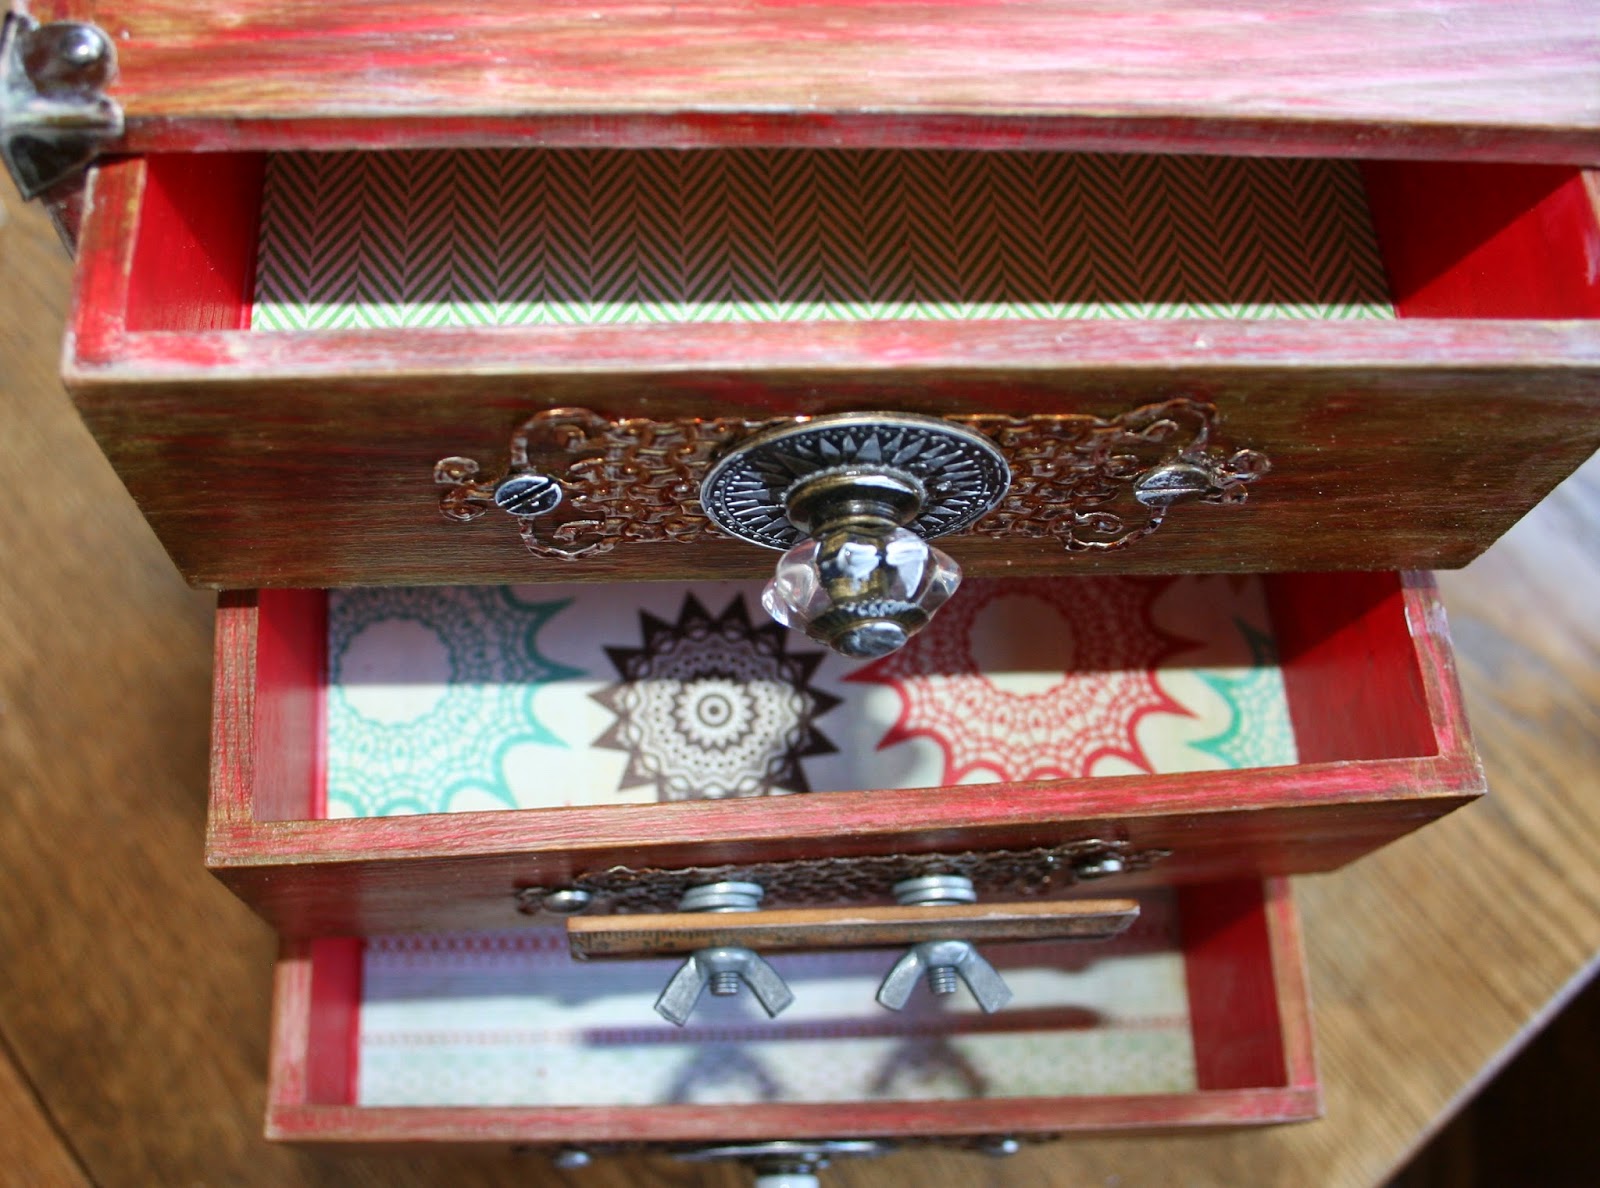
The next step was to line the drawers. I used scraps of random paper that I had. I did each drawer with a different pattern of paper...keeping with the found and repurposed theme. I painted and MP'd each drawer.
The next step was to cut out the metal motifs that went behind the handles. These I cut out from tim with a Spellbinders die. I then took the cut tin shapes and ran them thru a Spellbinder texture plate to create an embossed pattern. I then took the pieces and rubbed them with Staz On Timber and Saddle and then also sanded then rubbed them with white paint.....all to create that aged look again! From there I began to assemble various handles. I did the bottom first as that is the only drawer that won't open....due to adding the feet to the chest. I guess I could have done something different but I really love these feet and think they add so much to the piece. I purposely used different handles and really like the way it looks. The second handle is a throw back to my family growing up. I remember in my basement or my grandmother's basement a box that had lost it's handle and had a bit of a ruler there in place...held in with two wing nuts!
Finally, I added corner pieces and a top handle...for no other reason than I just like the way it looks!!!
So, here is the box in all it's glory and I am so pleased with how it turned out. I plan to make more pieces out of this unfinished wood...it is so easy and inexpensive and really, just a pleasant way to spend the afternoon!
Some of the pictures look like the color is a yellow....it isn't! It is worn out brown color!
Thank you so much for stopping by...I have been absent so long I don't know if I have any visitors any more! If so, thank you for your time!
Be well,
Sheila